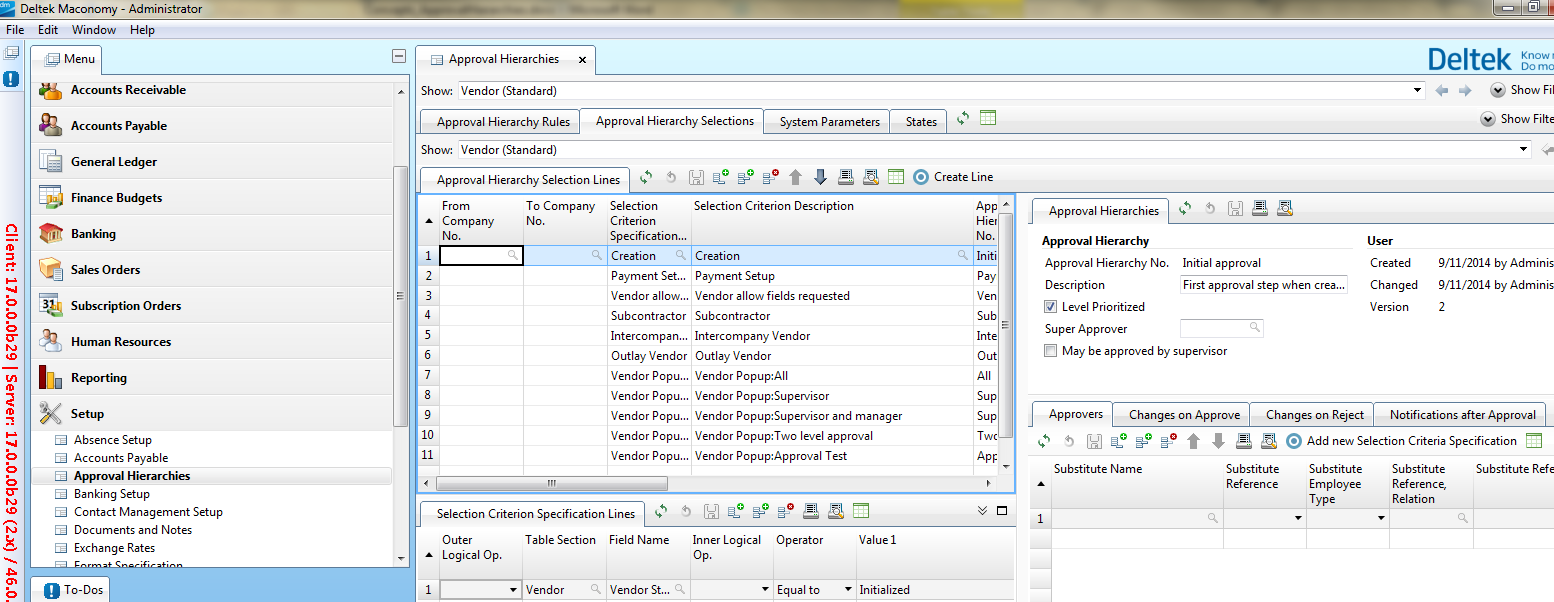
Approval Hierarchies Example Workflow
Use the various tabs and panels in the Approval Hierarchies workspace of the Setup module to set up approval hierarchies and to make changes to existing hierarchies.
Use the workspaces specific to the transaction or type of master data to utilize the approval processes you created.
This workflow provides a high-level discussion of the tasks related to the initial set-up of an approval hierarchy for vendors and the creation of a new vendor.
| Task | Frequency | User | Details |
|---|---|---|---|
| Set Up States | Once/Periodically | Admin | Specify the statuses that a new vendor goes through in the approval process. Create these manually. |
| Set Up an Approval Hierarchy | Once/Periodically | Admin | Set up an approval hierarchy for created vendors. |
| Create a Vendor | Regularly | Employee | Create a vendor. You may do this by copying template information from a parent vendor. |
| Approve a Vendor | Regularly | Employee | Approve a vendor for the first status. |
| Add Vendor Information | Regularly | Employee | Add more details about the new vendor (for example, bank account number). |
| Approve a Vendor | Regularly | Employee | Approve a vendor for the second status.
The vendor reaches the third status, and is now fully approved. |
Depending on the set-up, changes to certain vendor information result in the vendor undergoing the approval process again.
The workflows for transactions and other types of master data may differ from the example presented here.
Screenshot

Notifications
None.
- Related Topics:
- Set Up States
Use the States tab to create the statuses any new vendor has to go through before it can be considered fully approved. - Set Up an Approval Hierarchy for Vendors
Use the Approval Hierarchy Selections tab to set up an approval hierarchy. - Accounts Payable Setup (Admin)
Use these procedures for accounts payable-related setup. - Create a Vendor
Use the Vendors tab of the AP Setup workspace to create a vendor and submit it for the first approval. - Approve a Vendor
Use the Approve Vendor workspace to approve a vendor, and move it from one status to the next one. - Add Vendor Information
Use the Submit Vendor workspace to enter payment information and other details about the new vendor. - Setup
Select the Approval Required check box under the Approval Hierarchy Rules tab of the Approval Hierarchies workspace to ensure that all transactions and master data go through the specified approval hierarchies.