Contents of an Article (New Workspace)
In the new workspace editor, use the different options and contents of an article to arrange, modify, and add articles.
Example:
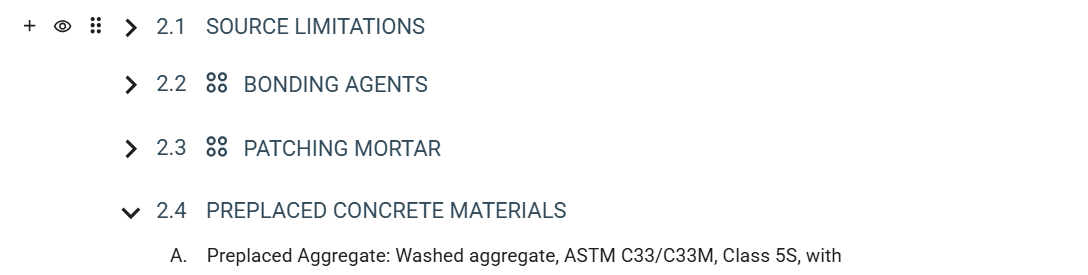
Options
The following options for each article are available:
| Button | Description |
|---|---|
| Click this button to add a new article immediately after the currently selected article.
For more information, see Addition of Element Contents. |
|
| Click this button to activate or inactivate the article.
When you inactivate an article, you disable modifications for the article and all paragraphs under it without discarding any existing changes. You also temporarily hide the article and its contents from the preview and output. When you activate an article, you enable modifications for the article and show its contents in the preview and output. For more information, see Activation of Element Contents and Inactivation of Element Contents. |
|
| Use this icon to drag and drop the article to its desired position. You can only move the article to another position within its part or element tab.
Click this button to display the following options:
For more information, see Arrangement of Element Contents. |
|
This indicates whether you expanded or collapsed the article. The following icons are available:
|
The availability of these options are based on your user permission.
Contents
In the editor, the following contents for each article are available:
| Item | Description |
|---|---|
| Article Number | This indicates the numbering of the article based on the order of all articles in the part or element tab. |
| Title | This indicates the title of the article. For a given part, under a
family, section, or
product type, the article title is unique.
You can only modify the title of a user-added article. |