As an
administrator or
author, set an association with a lowest-level
assembly to select a target position in your project for the imported
family or
product type.
Before you set associations and import a
family or
product type, check the intended position in your project for any conflicts with existing added
families or
product types.
To set associations for import:
-
Open the Import page for a project.
-
In the uploaded elements pane on the Import page, locate the uploaded
family or
product type.
-
For the selected
family or
product type, click
 or
Set Association in the
Set Associations column.
-
In the Set Associations window, click a lowest-level
assembly card (an
assembly without any subassemblies) to select it as a parent
assembly for the uploaded
family or
product type.
To remove your selection, click the
assembly card again. To expand an element and view its child elements, click

.
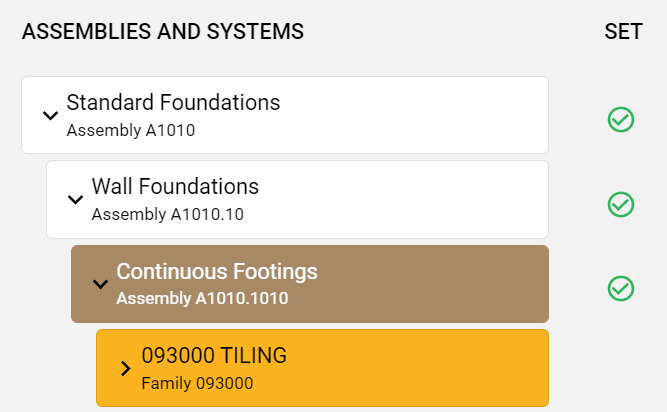
Upon selection, the following changes will occur:
- Your selected
assembly displays in brown.
- Your uploaded
family or
product type displays in gold.
- Your selected
assembly and other affected
assemblies (as indirect parent
assemblies) displays a green check icon (
 ).
).

-
Click
Save.
-
For any conflicts with an existing imported
family or
product type, click
Proceed in the Import Will Override dialog box to override the existing
family or
product type with the uploaded
family or
product type. Otherwise, click
Cancel.
Warning: You cannot recover an overridden
family or
product type.
