Add Multiple Mappings
You can add more than one mapping in a Custom Import Mapping. An instance where you can use this is if the Excel file has multiple tabs, and you want to import data from each of them
You add each mapping by clicking the Add button in the Entity Mapping window.
Example
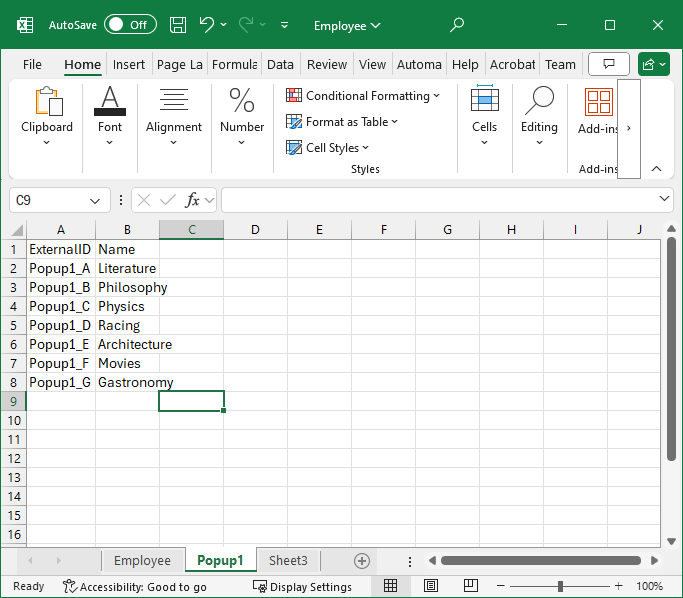
The Data.xlsx file has two tabs with data, Employee and Popup1.
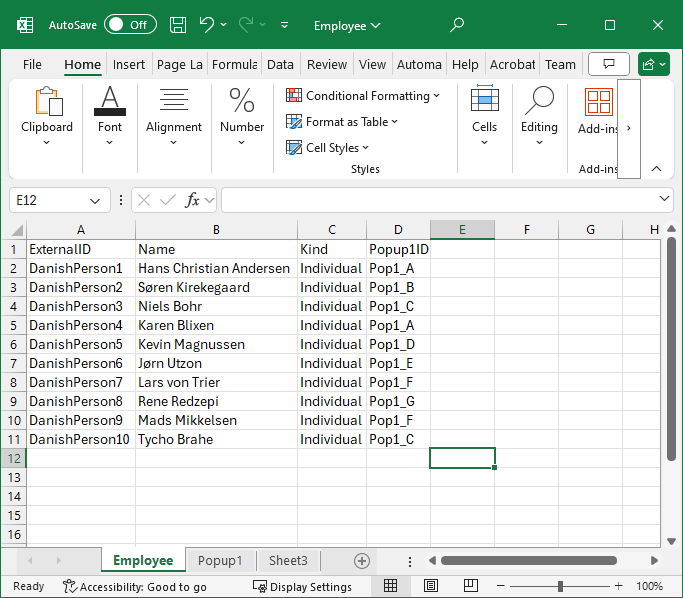
When you import this file, you must import the Popup1 entries before the Employee entries.
To do this, complete the following steps:
- Create a Custom Import Mapping.
- Click the Add button to add a mapping.
- In the
Source Tab Name - Excel field, select the
Popup1 tab.
The resulting mapping should show the ExternalID and the Name columns being mapped.
- In the Destination Entity Name field, select from the drop-down list.
- Click
Save.
You have now created the first mapping. To add a second mapping, you must continue with the following steps.
- Click the Add button again.
- In the Destination Entity Name field, select .
- In the Source Tab Name - Excel field, select the Employee tab.
- Click Save.
You have now created a second mapping.
The order of the mappings is important. When you run the Custom Import Mapping, the individual mappings are run in the order in which they appear.
The result of this custom import mapping is that you have imported rows into the Popup1: .
Similarly, rows have been added in the view, and if you add the Popup 1 column, the popups are seen as well.
The preceding example is with an Excel file, but the multiple mappings can be used for the other types of import as well; for example, you can select multiple CSV files in the CSV Files(s) field and then create a mapping for each of them.