Dialog Message
The Dialog Message form is used to create a dialogs using
the messages and responses you defined on the Dialog
Element form. These dialogs are used to generate dialog messages.
Dialog messages
are two-way messages between the Shop Floor Time application and the user.
When a user receives a dialog message, the user must respond to the message.
Based on the user’s response, the message will stop appearing, continue
appearing, or show a related message that also requires a response.
Note: The Dialog
Element form requires that the Messaging
module be licensed and enabled.
See Also:
Find a Dialog
Add a Dialog
Modify or Delete a
Dialog
Change the
Order of the Responses
Find a Dialog
Click Main
Menu > Configuration > Messages > Dialog Message.
If necessary, click the  Filter button at the top of the form to display the filter fields.
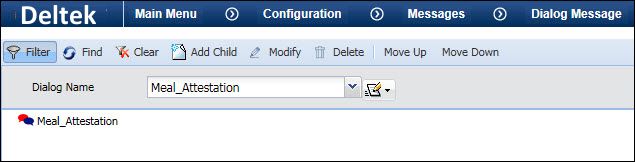
To display a specific Dialog Name, select it from the
Dialog Name field.
You can also click the  quick link next to the Dialog Name field and select Lookup.
Select the dialog from the pop-up form and click OK.
quick link next to the Dialog Name field and select Lookup.
Select the dialog from the pop-up form and click OK.
The Dialog Name you select will appear in the middle
of the form.
Add a Dialog
You will use the Add Child button to add messages and responses
to the dialog.
Click Main
Menu > Configuration > Messages > Dialog Message.
If necessary, click the
Filter button at the top of the form to display the filter fields.
If you have already defined
a Dialog Name, select it from
the filter field at the top of the form.
If you need to define a Dialog
Name, click the quick link next to the
Dialog Name field and select Add.
Enter the Dialog
Name and Description,
then click Save.
Select the new Dialog Name from the
filter field at the top of the form.
With the Dialog Name selected
in the middle of the form, click Add
Child.
In the Element
Name field, select the first message in this dialog. These
messages are defined in the Dialog Element
form.
In the Response
Ruleset field, select the Message Ruleset that will update
the message status based on the responses.
Click Save.
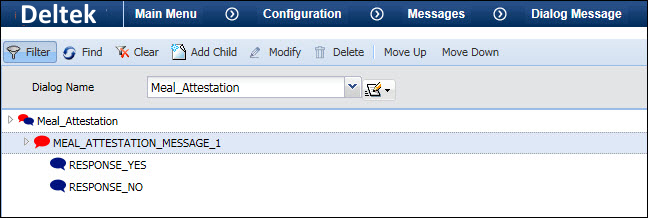
Click the  button
next to the dialog name. The message you just created will appear
below it.
button
next to the dialog name. The message you just created will appear
below it.
Select the message and click
Add Child.
From the Element
Name field, select the response to this message. These responses
are defined in the Dialog Element form.
If you need to add another response,
click Save and Add and select
the next response from the Element Name field. Click Save
after you add the last response.
Click the button next to the message; the responses you just
added will appear below it.
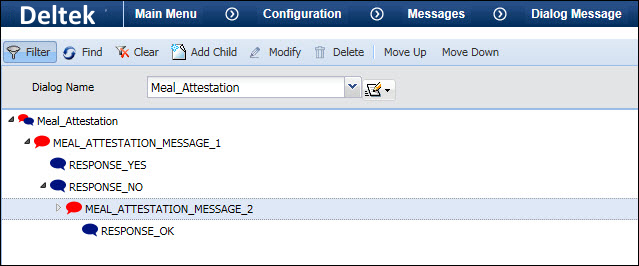
If one of the responses will
display another message, select the response and click Add
Child.
In the Element
Name field, select the message that should appear.
In the Response
Ruleset field, select the Message Ruleset that will update
the message status based on the responses.
Click Save.
An button will appear next
to the response. Click this button to show the message you just added.
To add a response to this message, select the message and click Add
Child. Choose the response and click Add.
Modify
or Delete a Dialog
You can use the Modify
button to change the Response Ruleset for a message. To do so, select
the message in the middle of the form and click Modify. Select the new
ruleset and click Save.
To delete a message or response from the dialog, select
it in the middle of the form and click Delete.
You cannot delete a Dialog Name if it has any child elements
beneath it. Once you delete the child elements (messages and responses)
from the Dialog Name, you can use the Dialog pop-up form to delete it.
Click the quick link next to the Dialog Name
field and select Maintain. Select the Dialog Name and click Delete.
Change
the Order of the Responses
Use the Move
Up and Move Down buttons
to change the order of a message’s responses. The response that appears
first in the dialog will also appear first in the terminal.