Customizing Report Documents
This section describes the steps you need to follow to customize report documents.
This section describes how to complete report documents and universe customizations.
You can create the following customizations:
To customize a single standard report, complete the following steps:
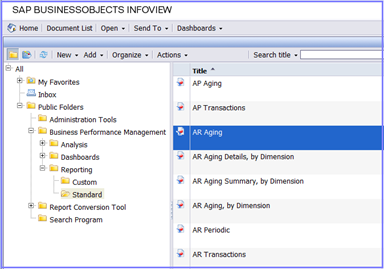
- In Web Intelligence, locate the standard report to customize (in this example, AR Aging).

- Open the selected standard report and click Document » Save As, then select a custom folder.
- Click
OK.
Note: Choose the Refresh on open option on the Save As dialog to refresh the report each time that you open it.
- Make changes to the report and save the document.
To copy all or selected standard reports to a custom location, complete the following steps:
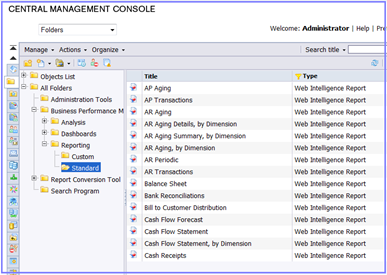
- In the Central Management Console, click
Business Performance Management » Reporting » Standard to open the standard reports.

- Select the report documents that you need, then right-click and select Organize » Copy To.
- On the Copy To screen, select a Custom folder and click
Copy.
The selected standard reports are now available as copies in the Custom folder.
The standard report documents are prepared for customization concerning document style. Most of the layout elements use a default setting, which means that their style is taken from a cascading style sheet. An example is that font family, color, and border style in data tables follow the settings of the cascading style sheet.
The cascading style sheet is built into each report document and is not read dynamically.
If you want to use another style, you can import a new style sheet into each document. For convenience the cascading style sheet of the standard report documents is included in the Reporting Packing Unit (RPU). This cascading style sheet is a good starting point for creating a custom one.
You can do the following with custom cascading style sheets:
- Modify
- Apply the style
- Export
Modify the Style
To modify a cascading style sheet, follow these steps:
- Copy the cascading style sheet from the RPU to the local machine from which WebIntelligence is run.
- Open the style sheet in a text editor.
- Modify the style sheet to the style that you want.
- Save the style sheet.
Now you can apply the style sheet to your documents.
Apply the Style
To apply the style of a custom cascading style sheet, follow these steps:
- Open the WebIntelligence document to be modified.
- Click Properties.
- Click Document.
- In the window that appears, click Change Default Style...
- Click Import Style.
- Browse to and select the modified style sheet file. Click
Close,
OK and
Save.
The styles of the cascading style sheet are now reflected in the document.
Export the Style
To export the cascading style sheet of a document, follow these steps:
- Open the WebIntelligence document that contains the style sheet that you want to export.
- Click Properties.
- Click Document.
- In the window that appears, click Change Default Style...
- Click Export Style.
- Browse to the location of the style sheet file that you want to export.
- Click
Save.
A cascading style sheet file that reflects the styles of the document is saved to the file system. You can use this as a foundation for customizing the styles, similar to using the cascading style sheet delivered in the RPU.