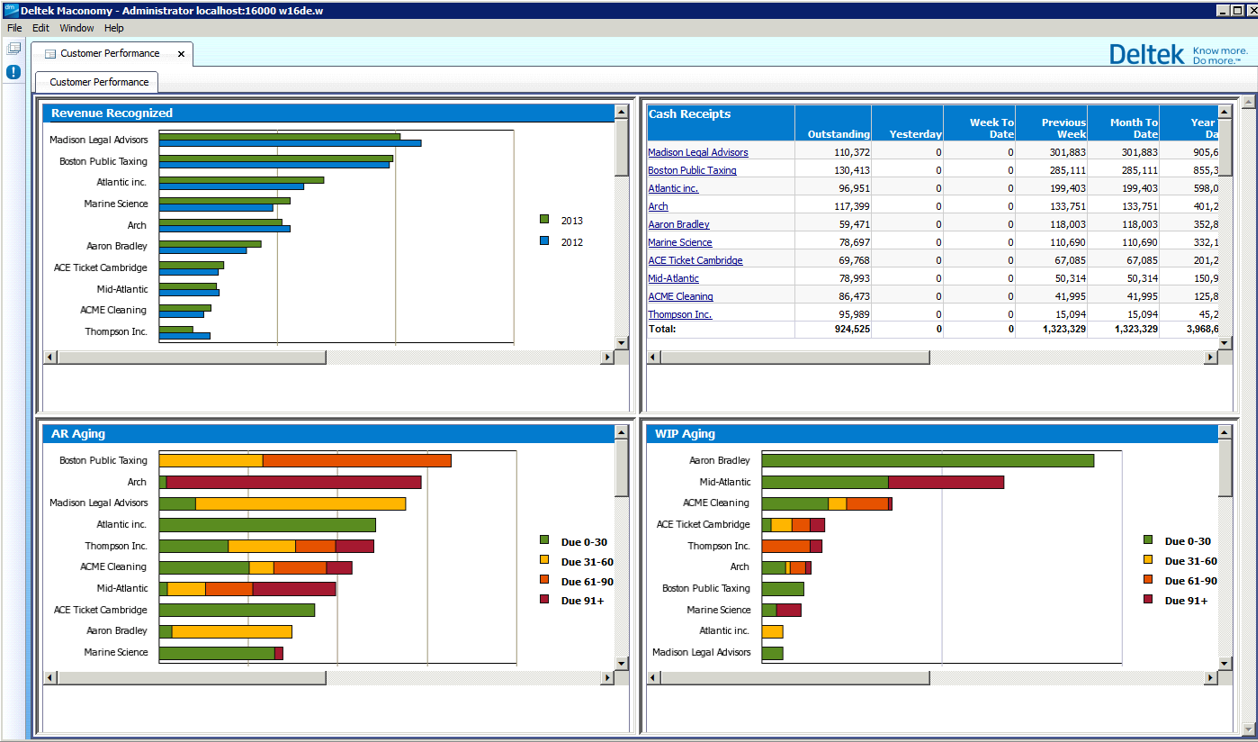
Customizing BPM Dashboards
This section describes the steps you need to follow to customize BPM dashboards.
You can do the following to customize BPM dashboards:
- Edit the JSP files
Editing the JSP Files
Each of the three BPM Dashboards has a JSP page that contains four iFrames that reference dashboard components (WebI Documents) in InfoViewApp.
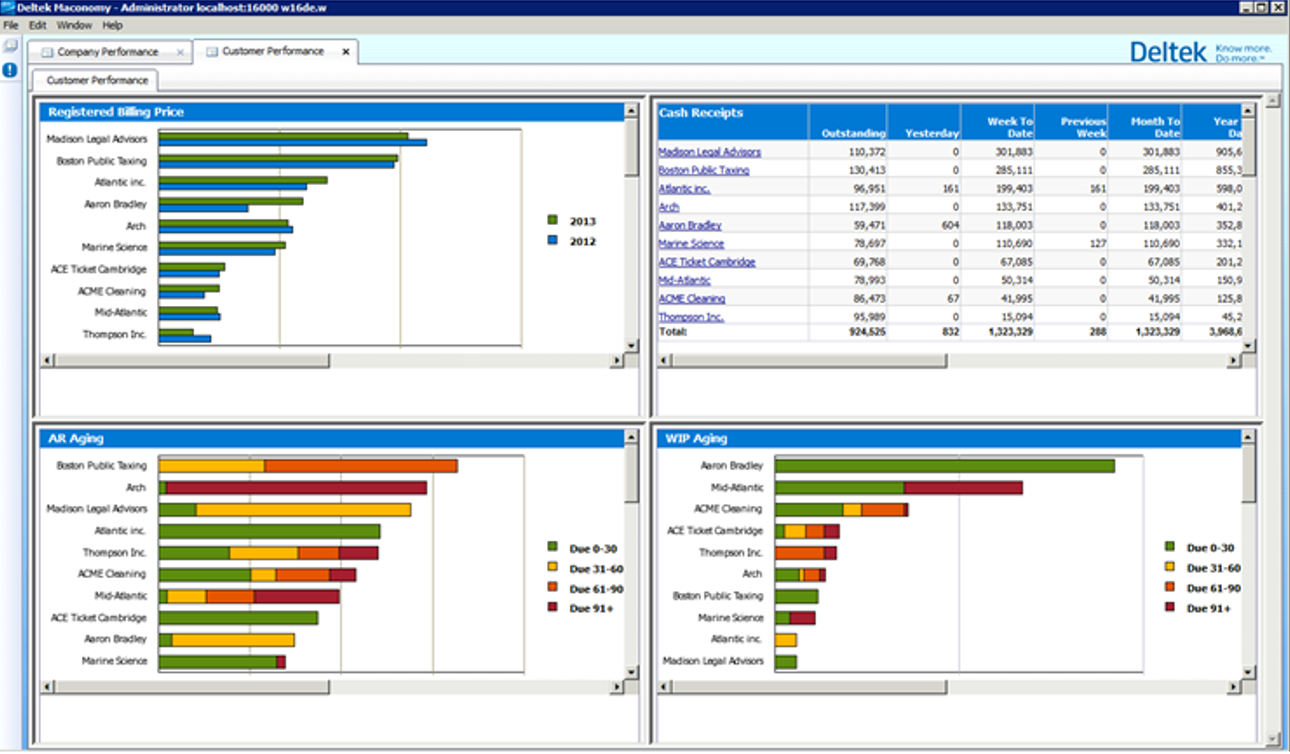
The three JSP pages that are found in the RPU are as follows:
For Standard Dashboards:
/dashboards/reporting/
- CompanyPerformance.jsp
- CustomerPerformance.jsp
- JobPerformance.jsp
For CPA Dashboards:
/dashboards/reporting/cpa/
- CustomerPerformance.jsp
- JobPerformance.jsp
You can see the layout of the iFrames in this part of the code in each JSP:
|
out.println("<table>"); |
The src attribute contains the path to the dashboard component.
The following figure shows a sample variable that contains the source path to the dashboard components.
|
//OpenDocument URLs for each of the Job Dashboards Components |
The sPath parameter indicates the location of the report/dashboard component.
The sDocName indicates the name of the report. Note that the name of the report must be properly URL-encoded with spaces converted to "+" instead of "%20".
You can also pass prompt values to the dashboard components via the URL by using the URL-encoded name of the prompt. Thus, if you want to pass a value to the prompt "Account Manager No:" add the following part to the URL:
| &lsSAccount+Manager+No%3A=" + accountMgrVal |
An example of how to change the dashboard is shown in the following:
- Open the file to be changed.
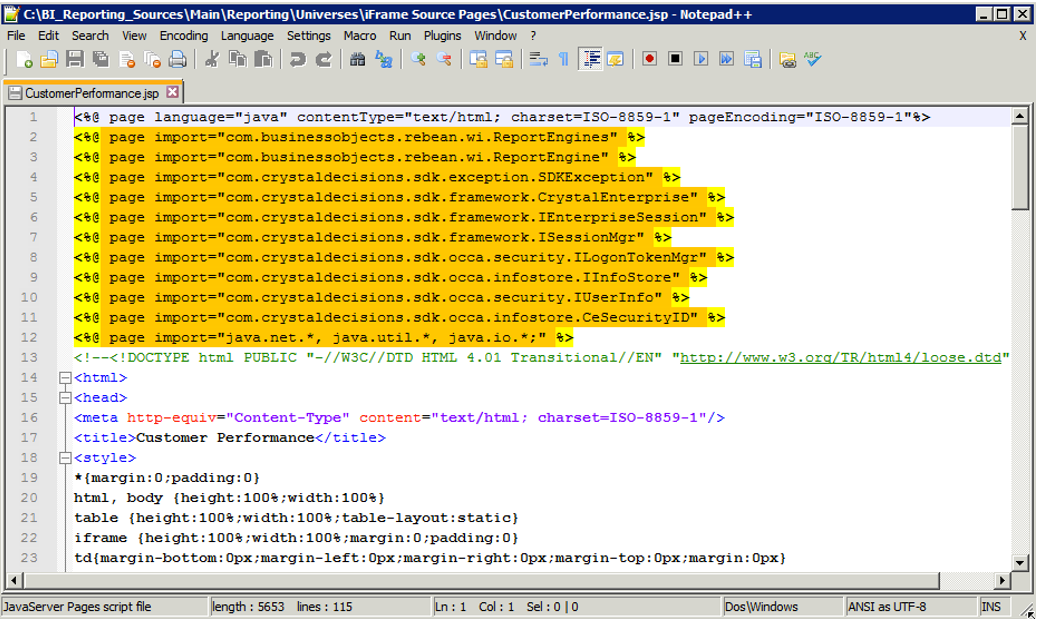
- Scroll down to the section where the four dashboard components are referenced.
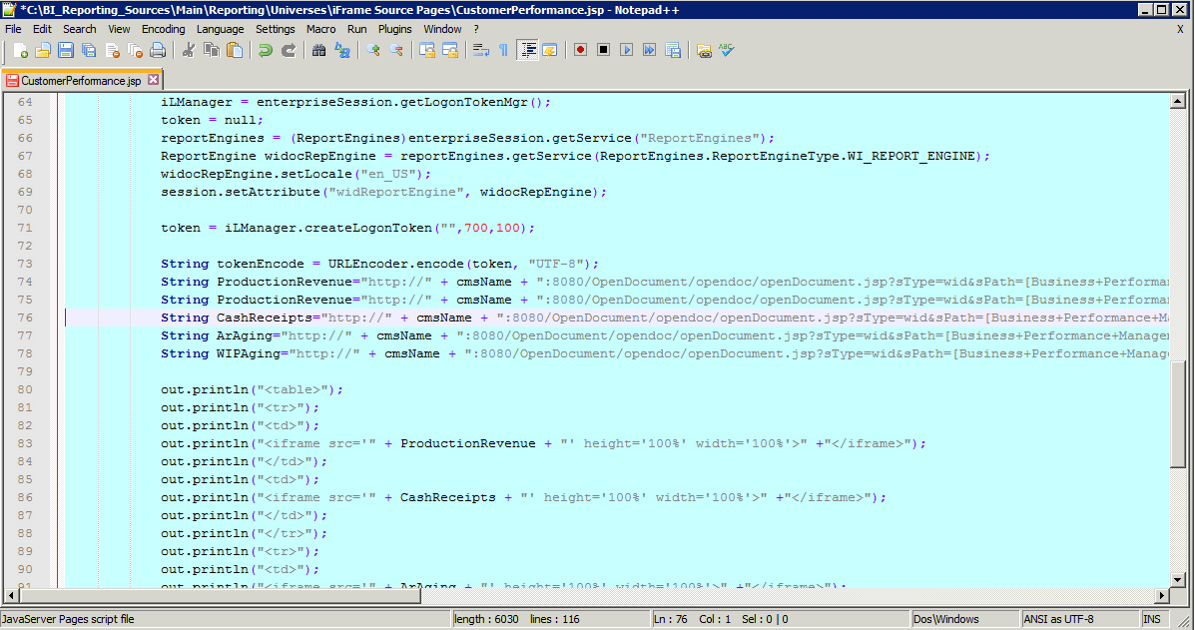
- Create a copy of the line to be changed and comment one out.
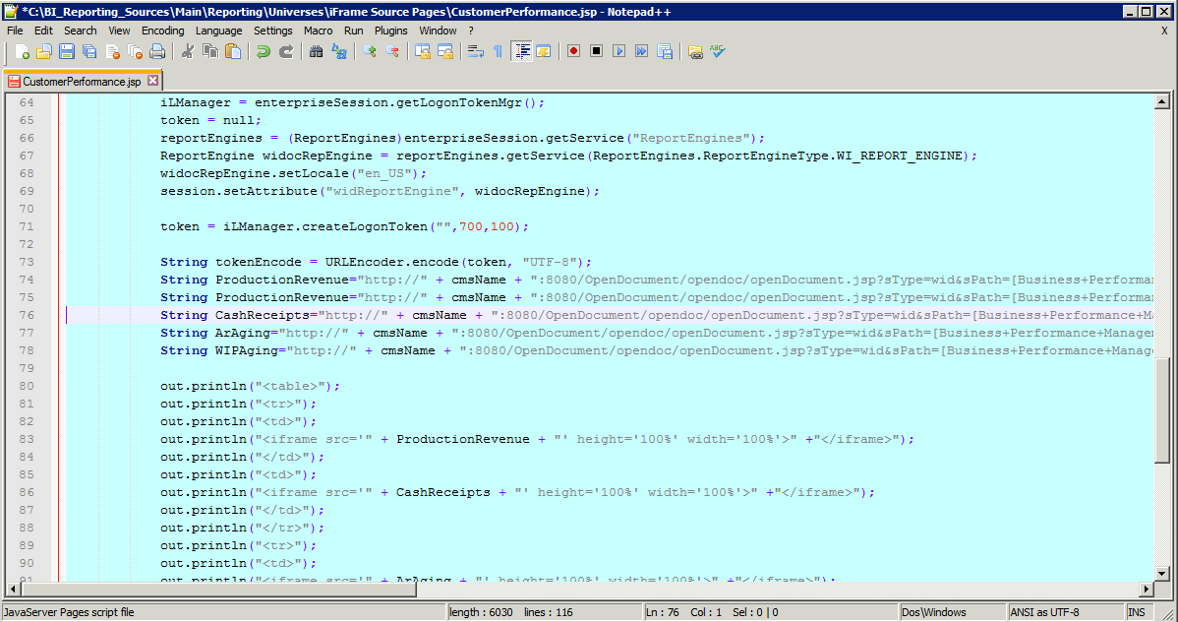
- Change the name of the referenced component.
The following shows the result.
