Lesson 3: Customization
| Start here! | Overview |
| Customizing the project list | |
| Customizing the project detail | |
| Learn the details | |
| Test your knowledge |
Overview
This topic describes how to customize the Project Command Center. You want to ensure that only the information you want appears, so that you don't have to wade through rows and columns of clutter.
To begin, click  (Customize) at the upper right of the window. The Customize window appears.
Customizing the project list
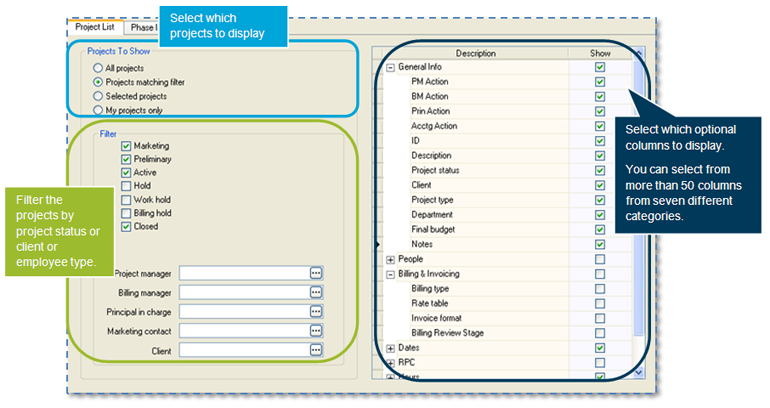
On the Project List tab, select the projects you want to see in the project list. You can filter your projects by project status (for example, Active, Hold, or Work hold) or by client or employee type (for example, project manager or billing manager).
You can then select which optional columns appear in the project list. Columns are grouped in these categories: General Info, People, Billing & Invoicing, Dates, RPC, Hours, and Dollars.
As an example, here is what the project list looks like if all the check boxes in the General Info section are selected:
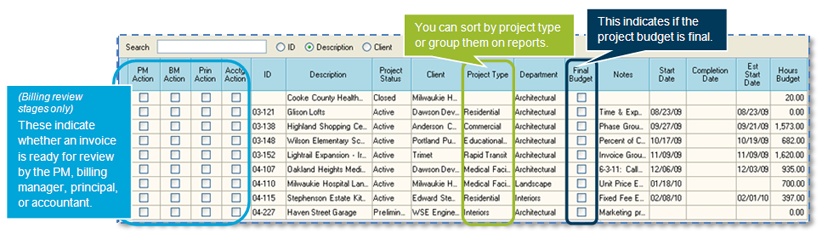
This example is merely illustrative; in reality, you would not want to clutter your project list like this.
Customizing the project detail
Now, customize the project detail so that it displays only the information you want on the Project Info, Manage, and Reports tabs in the Project Command Center.
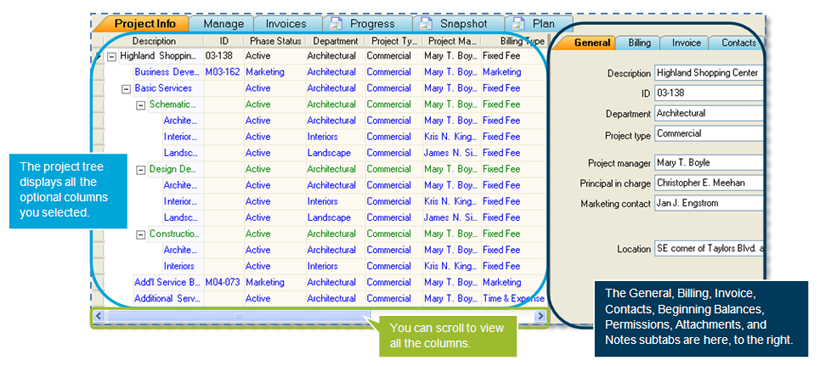
Project Info
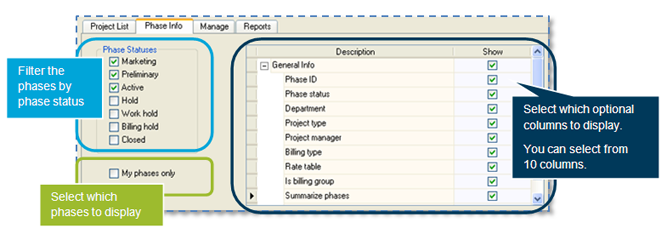
On the Phase Info tab, select the phases you want to see in the project tree (for example, your phases only or, the default, all phases). You can filter your phases by phase status (for example, Active, Hold, or Work Hold).
You can then select which optional columns appear in the project tree.
Here is what the project tree looks like if all the check boxes in the General Info section on the Phase Info tab are selected:
Again, this is merely an example; this is too much information to display in the project tree.
Manage
On the Manage tab, select the phases you want to see in the Manage tab of the Project Command Center (for example, your phases only or, the default, all phases). You can also filter your phases by phase status (for example, Active, Hold, or Work Hold).
You can then select which optional columns appear on the Manage tab. Columns are grouped in these categories: General Info, Billing & Invoicing, RPC, and Dates.
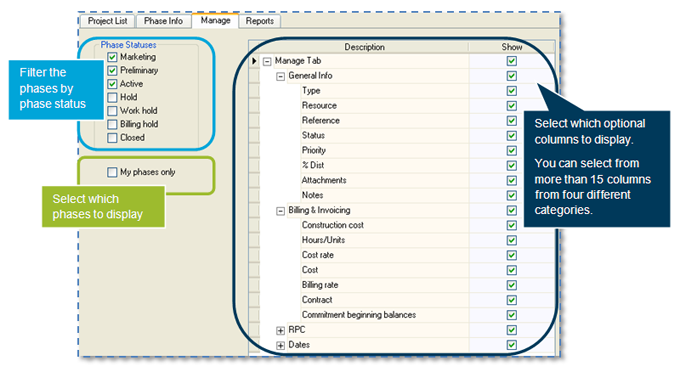
Here is what the Manage tab looks like if all the check boxes in the General Info and Billing & Invoicing sections are selected:
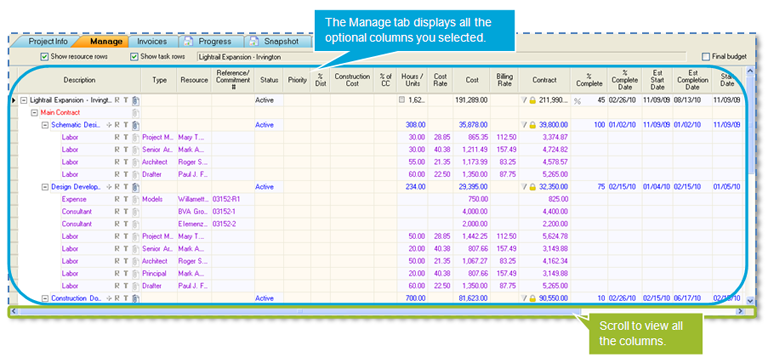
Again, be judicious about which columns you select. It's important to display only the information you need, especially on the Manage tab, which can easily become cluttered.
Reports unavailable in ajeraCore
You can select which report tabs appear in the Project Command Center.
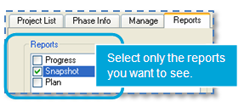
On the Reports tab, select the reports you want to see.
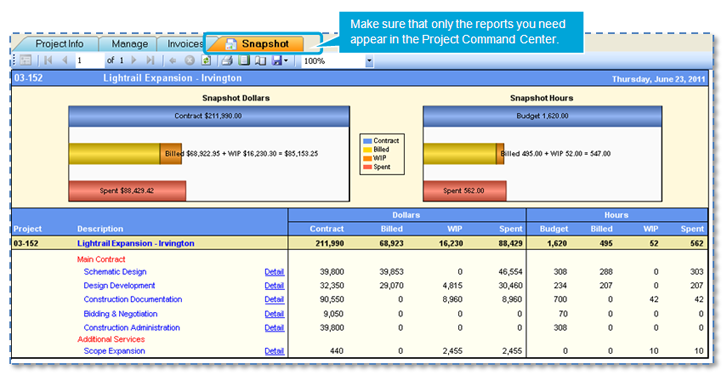
Here is what the Project Command Center looks like if the Plan and the Progress check boxes are cleared:
Learn the details
These links go to help. To return to this course, click the Back button.
About customizing your Project Command Center
Selecting project detail to view
Test your knowledge
Quiz: Customization of the Project Command Center
Congratulations!
You've completed Unit 2.
Next