Step 2:
on your server
| Note: |
For security purposes, it is recommended that you install the Ajera application and the database on separate servers. |
Ajera stores your project and financial information in a Structured Query Language (SQL) database. Ajera automatically pulls data from the SQL database tables to create client invoices, generate reports, and perform other tasks for you.
The Ajera installation automatically installs Microsoft SQL Server 2019 Express as its database on your server. Your database size and the number of Ajera users may require that you upgrade to a full version of Microsoft SQL Server 2019.
| Notes: | Downloading the Ajera program files as well as communication back to the server occurs over TCP/IP port 80 (or 443 for Secure Sockets Layer [SSL]), allowing for easy passage through corporate and personal firewalls. Ajera can coexist with an installation of SharePoint that is deployed with Windows Small Business Server. Ajera cannot coexist on a server where SharePoint virtualizes URL processing, bypassing Internet Information Services (IIS) authentication mechanisms. |
If your firm determines that you need to install a full version of Microsoft SQL Server or if you install SQL on a drive other than the C: drive on your Ajera server, you must specify an instance name of Axium during the SQL installation. Refer to the Microsoft SQL Server website for installation information.
| Caution: | During the Ajera installation, the system looks for the SQL instance named Axium. If the Ajera installation does not find that name, Ajera installs Microsoft SQL Server 2019 Express. |
Before you begin
- Disable any anti-virus software before installing Ajera.
- Locate your Welcome to Ajera email; it contains your Ajera Registration Code and company name. Your Ajera Registration Code identifies your firm, your version of Ajera, and your firm’s employee limit.
- Verify that your hardware and software environment is in place and meets what is identified in the Ajera Hardware/Software Requirements.
|
Caution: |
Without the correct hardware and software (such as supported web browsers or Microsoft Windows), you cannot access Ajera’s full functionality. |
To install Ajera on your server
-
- If you installed a full version of Microsoft SQL Server before this Ajera installation, the system may prompt you to allow access, depending on your User Account Control settings in the Control Panel. Click Yes.
- If Ajera is already installed, the system prompts whether you want to overwrite your existing data.
| Caution: | If you choose to continue, the system overwrites your existing databases and you will lose your existing Ajera data. To preserve your existing data and update Ajera to the latest release, click Cancel and complete the steps described in the Update Ajera section of this guide. |
- If you did not install SQL for Ajera, the system may prompt you to allow access to your computer, depending on your User Account Control settings in the Control Panel. Click Allow.
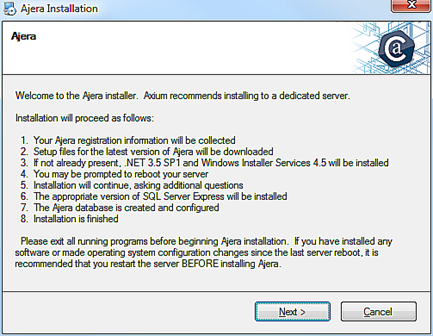
- To start the Ajera installation, click Next on the screen below.
- Enter your company name spelled exactly as it appears in the Welcome to Ajera email, along with your Registration Code and click Next.
- Specify the local server location where you want to install the Ajera program files and backup folder (C:\Ajera, by default). Click Install.
| Notes: | The drive letter must be local to the server, not on network-attached storage or a mapped drive letter. Do not enter the location of the database. |
- Specify the program file and backup folder installation directory, and click Install.
- Click Reboot Now.
- Depending on your User Account Control settings in the Control Panel, the system may prompt you to allow access to your computer. Click Allow.
- Read the Axium Software License and Services Agreement and do one of the following:
- If you need a printable version of the agreement, scroll to the bottom of the window and click the Click Here link before clicking I Accept.
- Click I Accept to accept the license agreement.
- Type a master Ajera password (also used for your SQL SA account).
- Re-enter the password to confirm it and then click Next. Save the password in a secure location for future reference. You need it to restore databases or to access the ODBC database.
- Select one of the following firm types:
- Architectural or Engineering - Ajera creates predefined settings specific to each firm type.
- Neither - enter your own unique chart of accounts.
- Click Next.
- The First Employee is your firm’s Ajera Administrator. The Ajera Administrator has full rights to the system, including access to all data, options, tasks, reports, and employee login email/IDs and passwords. Enter the First Employee’s name, Login Email (which appears in Ajera as the user name), and password.
- Click Install.
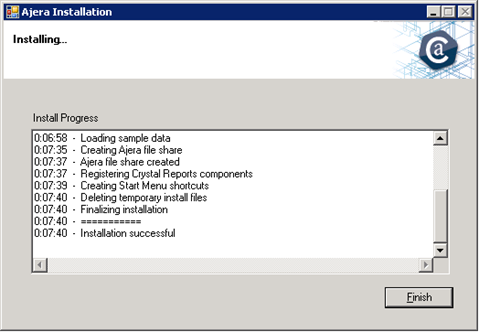
- Messages indicate the current state of the installation. When you see the message that confirms that the installation is successful, click Finish.
Congratulations! Ajera is now installed