
This section describes the installation process for reports in the web Analyzer. The web Analyzer is an integral part of the web client and, as such, assumes a working installation of the web client.
Prerequisites
You need to be proficient in using the Maconomy Extender, that is:
a. Using git repositories (including making branches)
b. Have "implementor" access via DCO (for Cloud customers)
c. General knowledge of where Maconomy stores various files
d. How to set up the Maconomy Extender
e. How to set up web development in the Maconomy Extender
You need to be able to design / develop Maconomy universes
a. Create universes, or modify existing ones
b. If creating universes, you need knowledge of GDPR and Maconomy access control rules and techniques
Much of the above can be learned from reading the "Handbook for Using the Maconomy Extender IDE" document and / or participating in a Maconomy Extender course.
What you need to have available
Maconomy Extender set up according to the "Handbook for Using the Maconomy Extender IDE"
The Maconomy Extender setup should have web client development enabled.
A Maconomy system with the REST APIs and web client enabled. It would help if the old Java Analyzer is also enabled.
Access to the "C:\maconomy" folder of the Maconomy system to be customized (having access to the Maconomy Extender implies this).
Add a Universe to a Maconomy System
In the Maconomy Extender, create a folder called "Universes". For example:
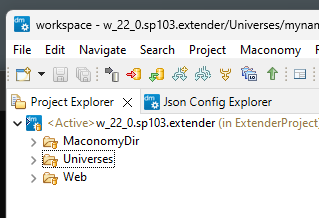 "
"Inside the Universes folder, create a subfolder called "mynamespace". For example:
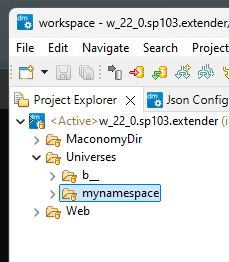 "
"In the mynamespace folder, create a file called "myuniverse.mul". For example:
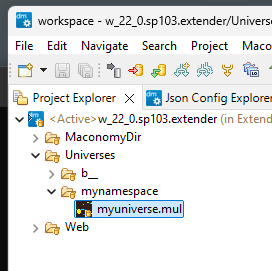 "
"Open the myuniverse.mul file and add the following lines:
<MUL 1.4>
<Universe mynamespace::myuniverse "My universe" >
<Object AccountBalance>

  <Interface>
    <field AccountNumber "Account number">
      AccountBalance.AccountNumber
    <end field>

    <field DebitBalance "Debit Balance, Enterprise">
      SUM(AccountBalance.DebitBalance)
    <end field>

    <field CreditBalance "Credit Balance, Enterprise">
      SUM(AccountBalance.CreditBalance)
    <end field>
  <end Interface>
<End Universe>
This is a small universe on the "AccountBalance" table that allows access to the "AccountNumber", "DebitBalance", and "CreditBalance" fields.
Submit and deploy the changes. The Extender adds the universe titled "My universe" to the Maconomy system.
Add an Analyzer Report to a Maconomy System
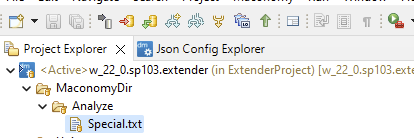
In the Maconomy Extender, create a folder called "MaconomyDir/Analyze". For example:
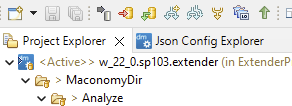 "
"Inside the folder, create a file called "Special.txt". For example:
Open the Special.txt file and add an Analyzer report based on the universe "mynamespace::myuniverse" [the universe ID] to the file as:
universe mynamespace::myuniverse "My universe report added using the extender"Submit and deploy the changes. The Extender adds the report titled "My universe report added using the extender" to the Maconomy system.
Note: The Special.txt file is also used by the old Java Analyzer. The Maconomy server directly derives part of the Reports menu in the old Java Analyzer from the Special.txt file. To support this, the Special.txt file also allows for the organization of Analyzer reports into a hierarchy of submenus in the "Reports" menu of the old Java Analyzer.
For example:
submenu "Mysubmenu"
  universe mynamespace::myuniverse "My universe report added using the extender"
  line
  universe mynamespace::anothermyreport "Another myreport added"
end
The web Analyzer does not use this information. Instead, the web Analyzer uses the menu.json and other .json files of the web client to define the hierarchy of submenus. See the next step.
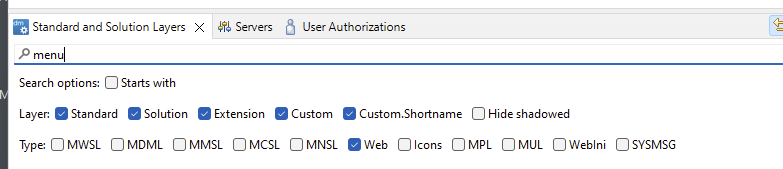
In the Maconomy Extender, locate the menu.json file. You can filter on "web" as shown in the following image:
Right-click the menu.json file, then copy as an extension.

Doing this creates a menu.json file in the Maconomy Extender.
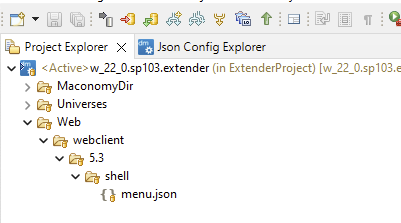
In the Extender copy of the menu.json file, scroll down to the "items" list and look for the "Job Analyzers" menu item.
Add the new report, as shown in the following example:
{
  "T$title": "Job Analyzers",
  "items": [
    {
      "analyzer": "Analyzer::JobAnalysis"
    },
    {
      "analyzer": "Analyzer::JobAnalysisBasic"
    },
    {
      "analyzer": "mynamespace::myuniverse"
    }
  ]
}
Doing this adds the new Analyzer report to the Job Analyzers submenu of the web client. You can also add the new Analyzer report to other web client submenus.
In the Maconomy Extender, submit and deploy the changes to the Special.txt and menu.json files.
To update the Maconomy system with the changes to the Special.txt file, run the following Maconomy server commands:
cd C:/maconomy/bin
MaconomyServer.<applicationId>.cmd -S<shortName> -UA
where "-UA" stands for "Update Accesscontrol". Among other things, this command reads the Special.txt file and updates the available Analyzer reports in the access control system with the Analyzer reports from the Special.txt file.
Note: If you are not working directly in the Maconomy server system, perform the following steps to update the access control system:
a. Use SSH to connect to the Maconomy server system as the "maconomy" user. For example:
ssh maconomy@<maconomyServerHostName>b. Enter the password for the "maconomy" user.
c. After logging in, go to the Maconomy "bin" folder. For example:
cd c:\Maconomy\bind. To list the "MaconomyServer" commands for the various app homes installed on the Maconomy server system, enter the following command:
ls -la MaconomyServer.*.cmde. Look for the "MaconomyServer" command appropriate to the app home with the updated Special.txt file.
f. Run the following command:
MaconomyServer.<appHome>.cmd -S<shortName> -UAThis updates the access control system and restarts the Coupling Service. Remember to run the "-UA" Maconomy server command for all short names in the app home.
g. Log out of the Maconomy server system again.
To add the new Analyzer reports to the appropriate window groups in the Maconomy system:
a. Log in to the web client and go to the Window Groups workspace.
b. Use the search field to select the window group to which you want to add the new Analyzer report.
c. In the Windows card, click + Add Window to add a table line.
d. In the Window Type field of the new table line, select Report from the dropdown. This filters the available options in the dropdown for the Window Name field to only reports.
e. In the Window Name field of the new table line, select the new Analyzer report from the dropdown. You will find it listed under the "Special" heading.
f. Select the Read, Create, Update, and Delete checkboxes as needed.

g. Click Save. Access to the new Analyzer report is now enabled in the window group.
h. Repeat steps b-g for each new Analyzer report.
i. Exit the web client.
Now that you have updated the access control system, restart the coupling service. Doing this also restarts all Maconomy server processes that are currently running.
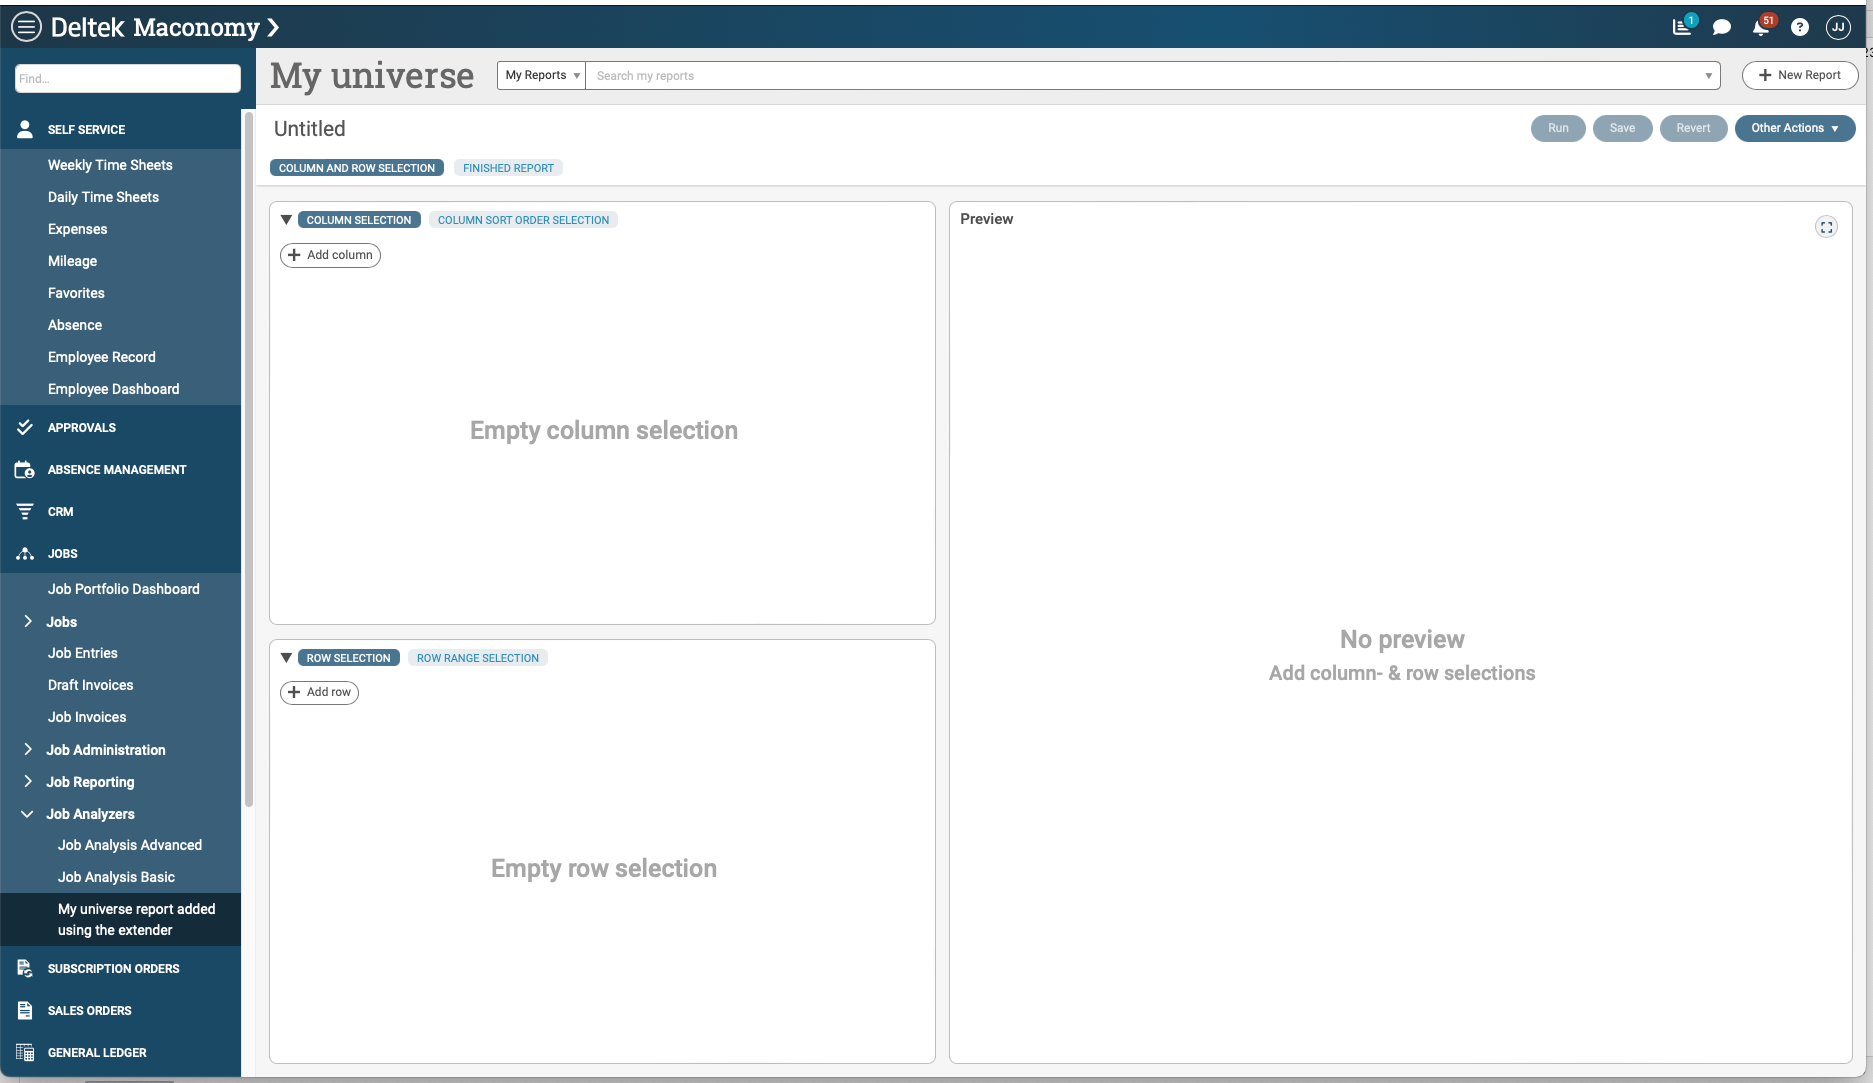
In the web client menu, expand the Job Analyzers submenu.
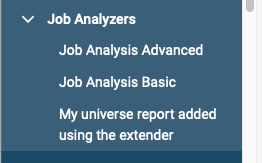
The "My universe report added using the extender" Analyzer report is now visible in the menu and available for use.
The Analyzer report added to the Special.txt file automatically appears in the Reports menu of the old Java Analyzer. The old Java Analyzer does not have a file or concept that corresponds to the Menu.json file. See step 4 of this procedure.
Rename the Title of Existing Analyzer Reports in a Maconomy System
In the Special.txt file, edit the title of the Analyzer report as follows:
universe mynamespace::myuniverse "My universe report retitled using the extender"In the Maconomy Extender, submit and deploy the changes to the Special.txt file.
To update the Maconomy system with the changes to the Special.txt file, run the following Maconomy server commands:
cd c:/Maconomy/bin
MaconomyServer.<applicationId>.cmd -S<shortName> -UA
where "-UA" stands for "Update Accesscontrol". Among other things, this command reads the Special.txt file and updates the available Analyzer reports in the access control system with the Analyzer reports from the Special.txt file.
Remove Existing Analyzer Reports from a Maconomy System
In the Special.txt file, delete the line that corresponds to the Analyzer report you want to remove. For example:
universe mynamespace::myuniverse "My universe report added using the extender"In the Menu.json file, delete the lines that correspond to the Analyzer report you want to remove. For example:
{
  "analyzer": "mynamespace::myuniverse"
}
In the Maconomy Extender, submit and deploy the changes to the Special.txt and Menu.json files.
To update the Maconomy system with the changes to the Special.txt file, run the following Maconomy server commands:
cd c:/Maconomy/bin
MaconomyServer.<applicationId>.cmd -S<shortName> -UA
where "-UA" stands for "Update Accesscontrol". Among other things, this command reads the Special.txt file and updates the available Analyzer reports in the access control system with the Analyzer reports from the Special.txt file.