Flex Field
The Flex Field tab on the Hierarchy
Elements form is used to view and modify Flex Fields in a hierarchy.
These Flex Fields can be used to add custom information
to a hierarchy. You can import these values using the fields FI_FLEX_FIELD_NAME1-6
and FI_FLEX_FIELD_VALUE1-6 (see Import
Definition and Import
Context Names). For example, you may want to define a Department that
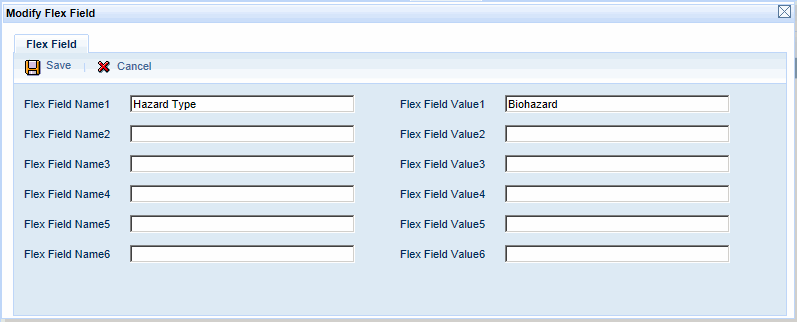
handles hazardous materials using Flex Field Name 1 set to Hazard Type
and Flex Field Value 1 set to Biohazard.
Once the Flex Fields have been imported, you can view them
on the Flex Fields tab. You can also modify an element’s Flex Fields using
this form.
See Also:
Flex Field –
Field Descriptions
Modify a Flex Field
Flex
Field – Field Descriptions
Flex Field Name (1-6)
Name of the Flex Field associated with the selected hierarchy
element. Flex Fields are used to import data regarding the hierarchy element
that does not have a corresponding field elsewhere in the application.
There are six available Flex Fields for the selected hierarchy element.
Flex Field Value (1-6)
Value of the specified Flex Field (1-6). For example, Flex
Field Name 1 = Hazard Type and Flex Field Value 1 = Biohazard.
Update Date, Updated By
These fields display when the record was created or updated,
and the person who created or updated the record.
Modify a
Flex Field
Click Main
Menu > Administration > Hierarchy > Hierarchy Elements.
Select the Hierarchy
Type and Hierarchy Name
you want to modify.
On the left side of the form,
click the  sign next to the
folder representing the Hierarchy Name and continue clicking the
  sign to expand the hierarchy levels.
Click the hierarchy element
you want to modify.
Click the Flex
Field tab.
If there are no records available, you will not
be able to add Flex Fields.
If there is a record available,
click Modify.

Change the Flex
Field Names
and Flex Field
Values as necessary.
Click Save
when you are done.
![]() sign next to the
folder representing the Hierarchy Name and continue clicking the
sign next to the
folder representing the Hierarchy Name and continue clicking the ![]() sign to expand the hierarchy levels.
sign to expand the hierarchy levels.