Attach Notes to Analytics

You can attach your own notes to charts, tables, or lists. You can also take a snapshot of the analytics and save it along with the note to provide context. Other users with access to the analytics can display those notes, use the snapshot to view the analytics as they appeared when the note was saved, and add their comments to the notes, including their own snapshot of the data.

The snapshot option for notes is similar in some ways to the bookmark feature. However, while the bookmark is intended to provide a way to save a view that you want to return to on a regular basis, the snapshot provides a quick way to capture a view temporarily to enhance a specific discussion of the data and then be discarded.

Attach a Note to a Chart or Table

  1. Right-click anywhere in the chart or table.

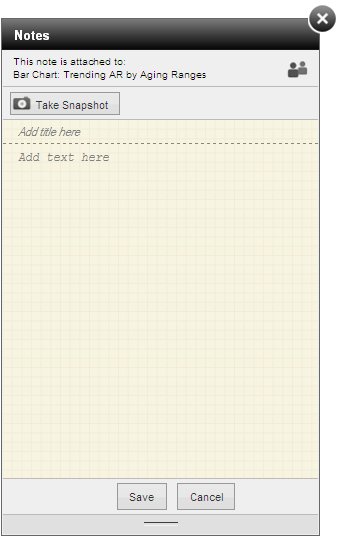
  2. Click Note » Add a New Note on the shortcut menu to open the Notes dialog box.

  3. Click Add title here to enter a title or heading for the note.

  4. Click Add text here and enter the note.

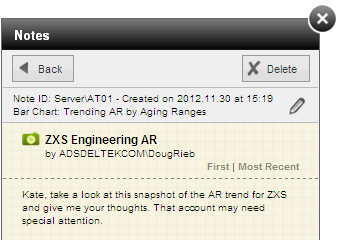
  5. If you want to attach a snapshot of the analytics to the note so you or others can see the full context for your note, click Take Snapshot.

  6. Click Save.

Note: Because there is no equivalent to the right-click on an iPad, iPad users cannot display the shortcut menus for charts or tables, or for lists that do not have the Menu icon (). As a result, they cannot attach notes directly to those objects.

However, iPad users can still attach notes and snapshots related to the analytics to lists that have the Menu icon () in the upper-right corner. Tap that icon to open the Notes dialog box.


Display All Notes


To display all notes for the analytics, do either of the following:

  • Click on the analytics toolbar.

  • Right-click anywhere on an analytics tab except on a chart, table, or list, and click Show/Hide Notes on the shortcut menu.

To hide the Notes dialog box again, repeat either action, or click X in the upper-right corner of the Notes dialog box.

Display Notes for a Single Chart or Table

To display just the notes for a single chart, table, or list...

  1. Right-click anywhere in the chart or table.

  2. Click Note » View Attached Notes on the shortcut menu to open the Notes dialog box.

In the Notes dialog box, you can do the following:

  • Use the Notes drop-down list to view other notes.

  • Click to view truncated notes (as shown in the illustration) or to view full note text. (You can also click a truncated note to view the full note text.)

  • To go into editing mode, click the note. In editing mode, you can view a snapshot, edit the note, add a comment to the note, or delete the note.


Edit or Delete a Note

To edit one of your notes...

  1. Display the full or truncated note.

  2. Click the note to go into editing mode.

  3. Click .

  4. Edit the note title or text.

  5. If you want to remove the snapshot for the note, click to the right of the snapshot.

  6. Click Save.

To delete one of your notes...

  1. Display the full or truncated note.

  2. Click the note to go into editing mode.

  3. Click Delete.

  4. When asked to confirm the action, click Yes.


Add a Comment to a Note

To add a comment to a note...

  1. Display the full or truncated note.

  2. Click the note to go into editing mode.

  3. Click Add Comment.

  4. Click Add your comment here and enter your comment.

  5. If you want to attach a snapshot of the analytics to the comment so you or others can see the full context for your comment, click Take Snapshot above your comment.

  6. Click Done.

To edit one of your comments...

  1. Display the full or truncated note.

  2. Click the note to go into editing mode.

  3. Click in the comment area.

  4. Click Edit on the menu.

  5. Edit the comment.

  6. Click Done.