Create an MS SQL Database Connection to Load Actual Costs
Use this procedure to create a connection to an MS SQL database in order to load actual costs during integration.
It is expected that managing the database tables will be handled by your company's IT personnel/Database Administrator (DBA).
To create an MS SQL database connection to load actual costs:
-
On the New Database dialog box, enter a database name and click
OK.
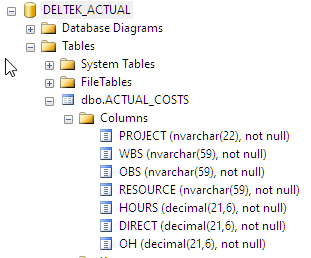
In this example, the database is named DELTEK_ACTUAL.
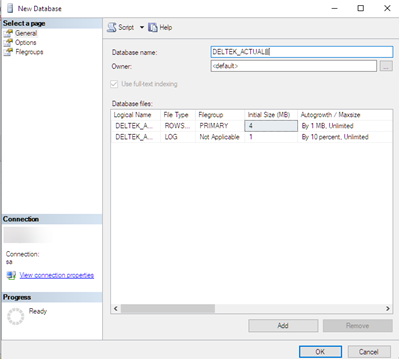
The new database will be listed as one of your databases in the Databases tree.
-
Right-click
Tables and click
New, and then click
Table...
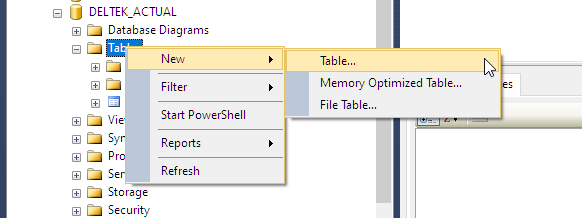
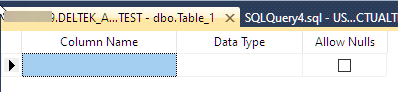
The database table displays in the right pane.
In this example, we are creating a simple database for actual costs using data Format 1 to load actuals (Results are specified as column headers). The columns created should use the same Data Type used throughout Cobra for that same value. For example, in the CAWP table, the CA1 (WBS) field is NVARCHAR (59, not null). The WBS field in the Actuals table should use the same data type setting.
-
Enter the following information and clear the
Allow Nulls checkbox next to each entry.
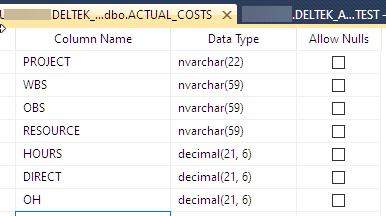
In this example, we are going to load 3 results. Since were are using Format 1, each result needs to be its own column (HOURS, DIRECT, and OH). The project is collecting actuals at the control account (CA) level, so we only need to identify the CA fields, resource, and results. If collecting actuals at the work package (WP) level, you need to create a column for the WP name.
-
Click
Save. When prompted, enter a name for the new table.
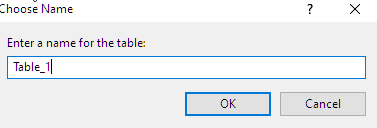
The new table, dbo.ACTUAL_COSTS, is now listed in the Database tree. If the new table is missing, right-click the database, and select Refresh.
-
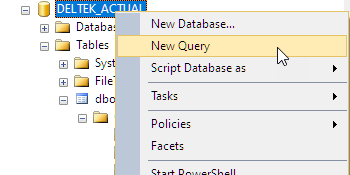
Right-click your database, select
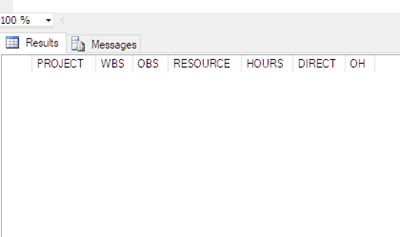
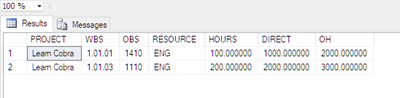
New Query, and execute the Select statement to make sure the new actuals table is working and all the column names you created are working.
Select * FROM [name of your database]
-
Right-click your database, select
New Query, and execute the Select statement to make sure the table is populated.
Select * FROM [name of your database]
-
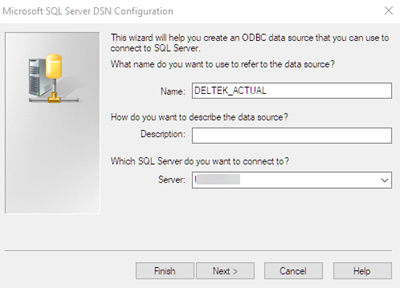
Create an ODBC connection in order for Cobra to see the database holding the actual cost data.
-
Select the server on which the database is located and click
Next.
-
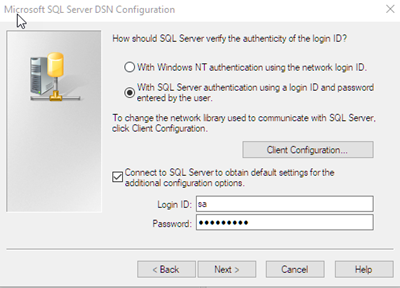
Set up the authentication and click
Next.
In this example, SQL Server authentication is used.
-
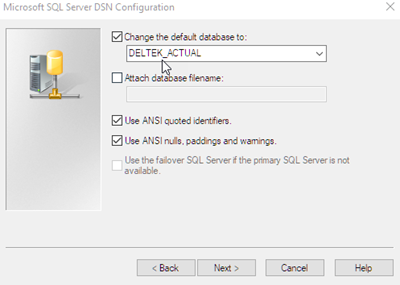
Select the
Change the default database to checkbox and click
Next, and then
Finish.
-
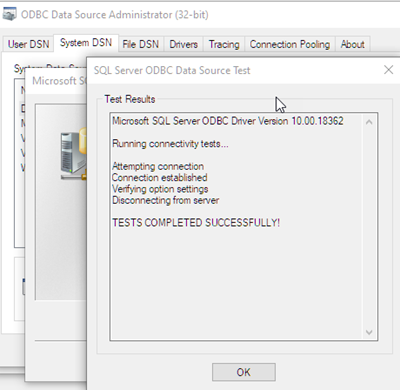
Click the
Test Data Source button. When the test completes, click
OK to close out the ODBC Data Source Administrator.
-
Select the server on which the database is located and click
Next.
-
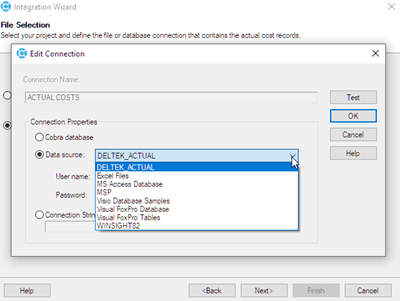
On the
File Selection page, do the following:
-
When the test completes, click
OK.
The connection should be populated in the Connection Name field. Click Next.Note: If the connection name is not populated, select it from the list.
-
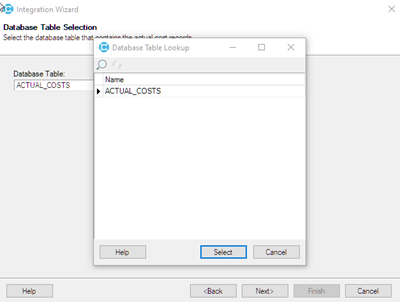
On the
Database Table Selection page, click
 to display the Database Table Lookup dialog box.
-
Select the table holding the actual costs, and click
Next.
-
When the test completes, click
OK.