Process Overview
This topic provides an overview of the process for creating a new expense.
For the purpose of the following examples, assume that the ICR capability is enabled, and that the application was opened from the menu, not by opening an existing outstanding expense.
In the following example, no outstanding expenses yet exist. In this case, click Upload Receipts to add expense details the existing, blank record

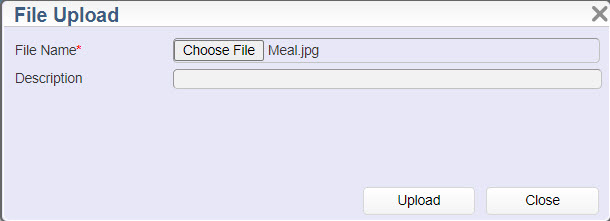
In the File Upload dialog box, click Choose File to navigate to the drive where the file is located. In the example image below, an image file for a meal expense was selected.
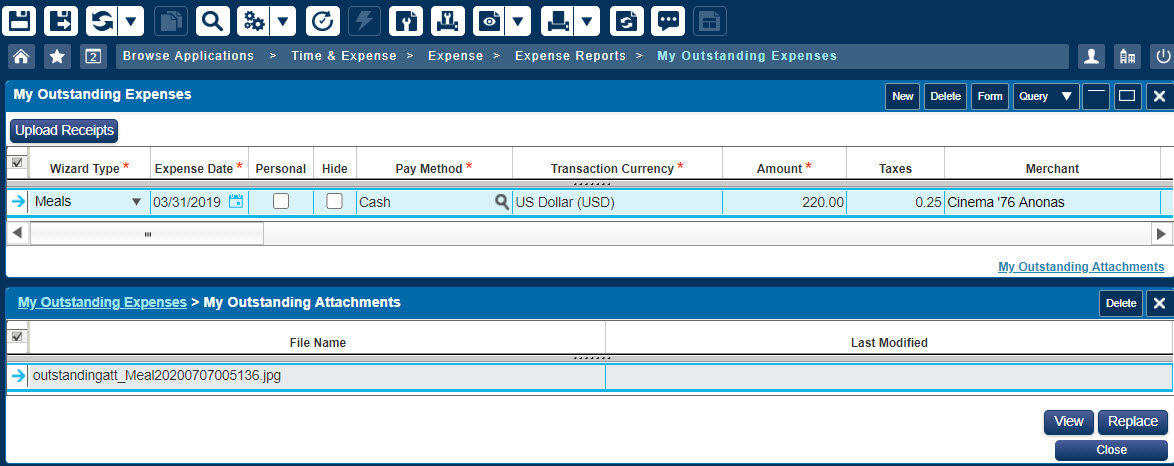
After processing, certain details are extracted from the image and added to the expense. For example:
The next image below is the same as above but is in Form view to better show all the expense details that were extracted after ICR processing.
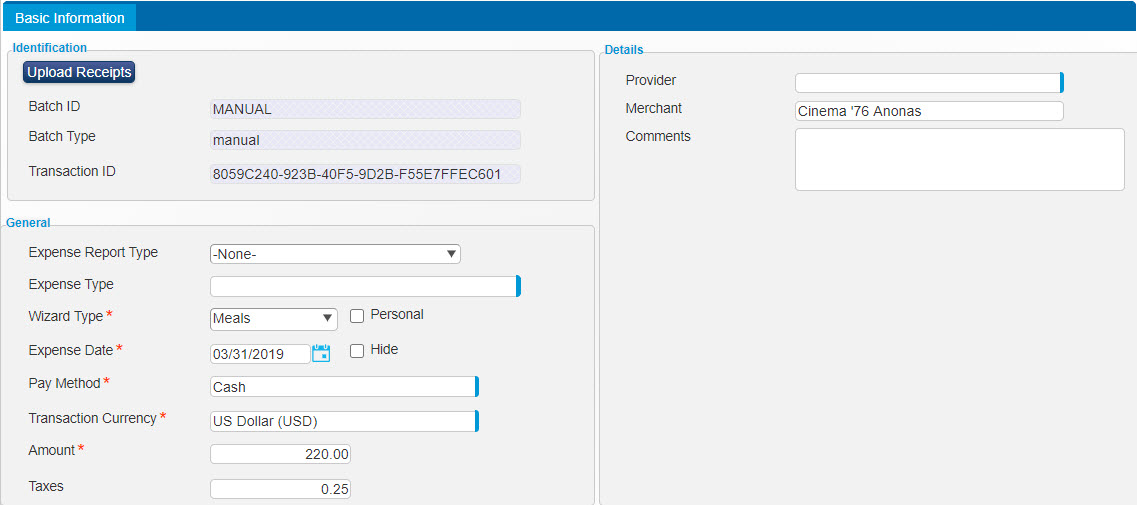
For a list of fields that are currently mapped for extraction, refer to the screen field descriptions.
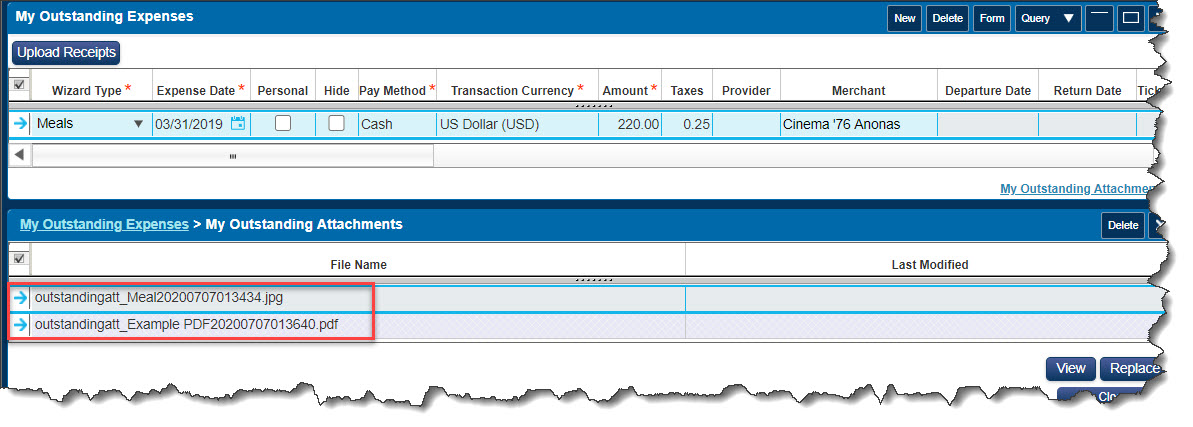
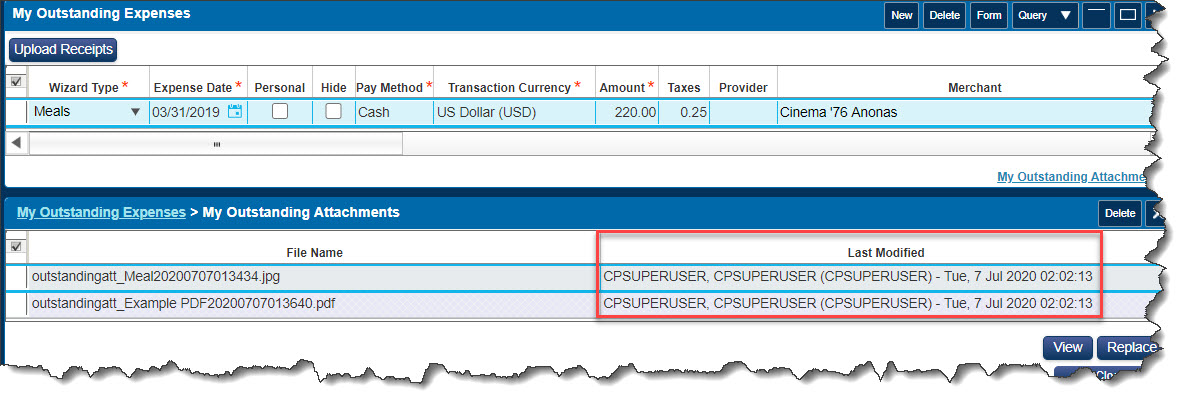
In addition to correcting and completing fields, you can also upload additional attachments, if needed. Click Upload Receipts for each attachment you want to add. Note, however, that only the first attachment is scanned by the ICR process. Attachments display in the subtask table. For example:
See the My Outstanding Attachments topic for more information.
When you have finished, click
 . The saved file now displays the time and date stamp in the
Last Modified field of the My Outstanding Attachments subtask
To add another expense, click New:

After the new record is added to the table, click Upload Receipt to repeat the same process described above for the first expense.

Continue the same process as described above for the new expense.